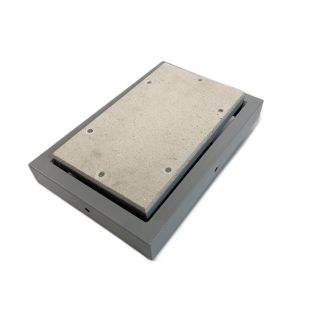
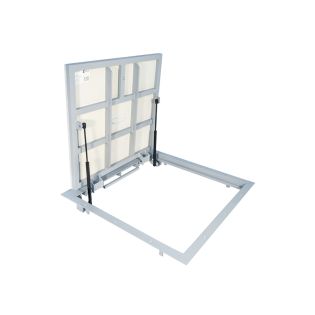
How to install an inspection hatch under the tile
To install the inspection hatch, the following conditions must be met:
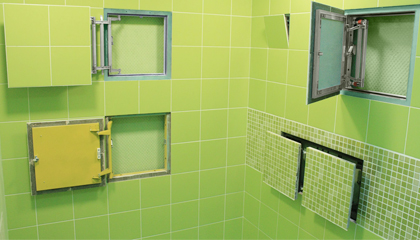 It is necessary to calculate the place where the hatch will be placed. It can be a wall or a ceiling. or even the floor. If there are folding hatches, then the distance from the bottom edge of the hole to the horizontal one is also taken into account, which should not be more than 7 mm. As for the sides, they should be 3-30 mm. If you have purchased a removable hatch, the hole distance is fixed within 3-30 mm. It is according to these markings that you need to cut a hole.
- Next, the hatch frame is placed in a level with the wall plane. This will allow you to align it with the wall/ceiling or floor when applying finishing elements.
- With the help of screws or dowels, the hatch frame is fixed in the hole.
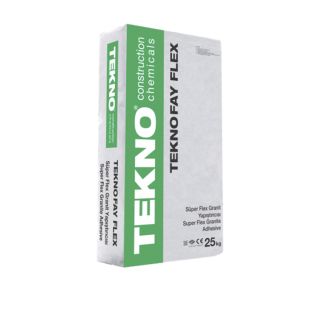
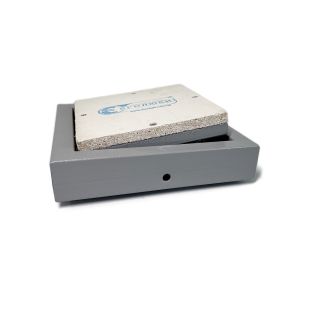
- Next, you need to do finishing materials. To do this, you need to glue the decorative tile on a special cement adhesive 3-5 mm thick, for example, elastic adhesive for ceramic tiles and granite Teknofay Flex C2TE S1. But it should be remembered that when gluing, you must first close the seams with a paint tape and the hatch itself must be closed.
After the tile glue has completely dried, the installed crosses are removed from the seams and the doors are opened, checked and closed again to rub all the seams.
How tile seams are rubbedTo make the hatch less catchy, you need not just to stick the tile, but also to rub the seams.
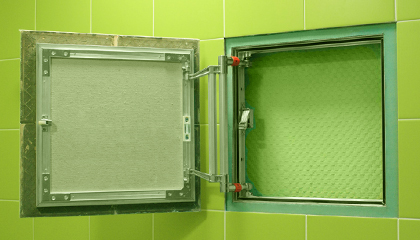 To do this, follow these steps:
- Open the hatch and thoroughly clean all the ends of the tiles in the seam area so that there is no glue, dust, etc. left on them.
- Use a masking tape to glue the area around the door seam and use a special Teknoderz EX joint grout. But before that, press the tape tightly so that the sealant does not get into the joint of the door. It is not necessary to fill the entire depth with sealant, but only up to 5 mm.
- Remove excess silicone with a special spatula.
- By the time the adhesive sealer dries, remove the masking tape. And after the 2nd day, using a technical knife, cut the seams around the perimeter to the full depth at an angle of 45 degrees. To make the seam invisible, it is necessary to immerse the knife in full depth and cut without interruptions.
After the sealant is cut through, open the door and remove excess sealant for a smoother and easier opening of the doors in the future.
With proper installation, the inspection hatch will be almost invisible and you will be able to use it without interference at any time.
Additional products
 Revision wall hatch BOX 200x200 mm, push, aluminium, paintable, wallpaper,
850
uah / PCS.
765
uah / from 10 PCS.
 Revision wall hatch STANDART 200x200 mm, push, aluminium, paintable, wallpaper
850
uah / PCS.
765
uah / from 10 PCS.
 Revision wall hatch UNIVERSAL 200x200 mm, push-on, aluminium, tileable
1 340
uah / PCS.
1 206
uah / from 10 PCS.
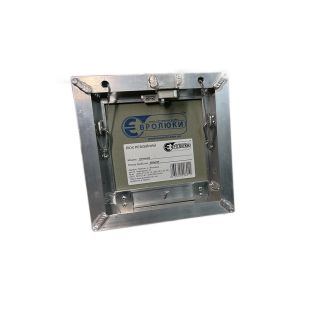
 Inspection wall hatch EURO ECO 200x200 mm, steel, for tiles
1 180
uah / PCS.
1 062
uah / from 10 PCS.
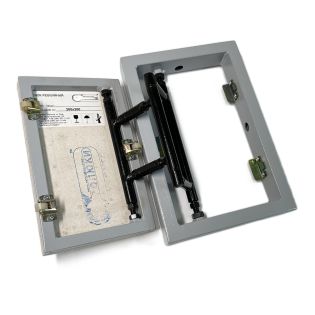
 Inspection wall hatch EURO-N 200x300 mm, steel, push, for tiles
1 930
uah / PCS.
1 737
uah / from 10 PCS.
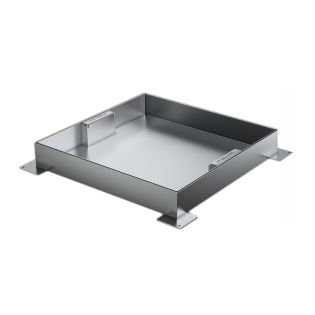
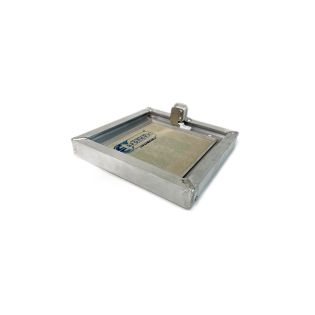
 Inspection floor hatch LIGHT 200x200 mm, aluminium, for flooring
1 350
uah / PCS.
1 215
uah / from 10 PCS.
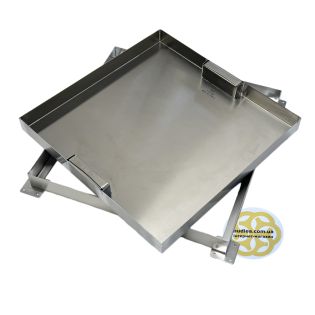
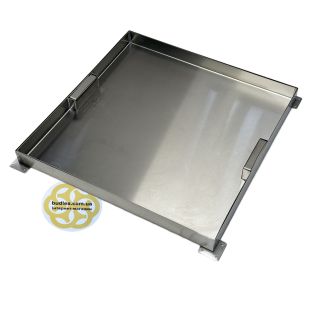
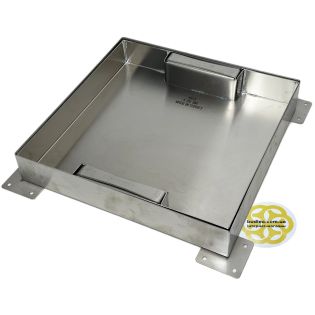
 Inspection floor hatch POWER 600x600 mm, steel, with air springs, for tiles, laminate
7 200
uah / PCS.
6 480
uah / from 10 PCS.