How to choose a tile hatch
For efficient use of space, engineering communications can be hidden in the wall. There are many ways to do this, one of which is a hatch under the tile. Outwardly, it looks very similar to a regular revision window, but with skillful installation it can be almost invisible. In this article, we will look at what parameters you should pay attention to before buying a hatch in the bathroom, basement or kitchen, and how to properly install it in these rooms.
Before buying, you need to consider:The size of the installed tile.
 It is much more difficult to install a hatch when you need to cut the tile before that.
- The texture of the tile (for example, matte or glossy), depending on which you can choose the installation method.
- A wish for the size of the hatch. Someone is satisfied with a small window, and someone needs a bigger hatch.
- Access to the hatch. The furniture does not close it, whether there is full access.
Also, hatches can be not only for tiles and mosaics, but also for painting and wallpaper. Therefore, it is important to coordinate the location from the very beginning.
How to install the hatch under the tile correctlyYou can install a hatch under the tile with the help of specialists or independently.
To install it yourself, you need to prepare a profile structure in the armhole, on which the hatch itself will be fixed. Then this structure is sewn up with drywall and tiled.
When installing a hatch in a metal structure, it must be taken into account that the door should not protrude beyond the drywall. Also, if the hatch is installed in the basement or in the bathroom, where there is high humidity, it is better to use a penetrating waterproofing mixture Teknomer 100 (Teknomer 100) in advance - this cement-based material will give the surface resistance to negative and positive water pressure and will prevent water penetration into the communication itself.After that, the hatch is installed and fixed with screws, and the structure itself is sewn with drywall and tiles are laid on top.
When gluing tiles, you need to make sure that the glue does not get into the seam around the perimeter of the hatch. To do this, a paint tape is pre-glued on the sides.
At the very end, the hatch is sealed with masking tape outside and inside the gap so that nothing gets on the door. The seam itself is sealed with a sealant in the color of putty for tiles and after drying it is cut at an angle of 45 degrees with a painting knife. The remaining silicone is trimmed, after which you can use the hatch.
Additional products
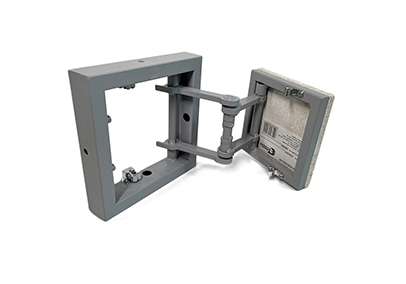
 Revision wall hatch BOX 200x200 mm, push, aluminium, paintable, wallpaper,
 Revision wall hatch STANDART 200x200 mm, push, aluminium, paintable, wallpaper
 Revision wall hatch UNIVERSAL 200x200 mm, push-on, aluminium, tileable
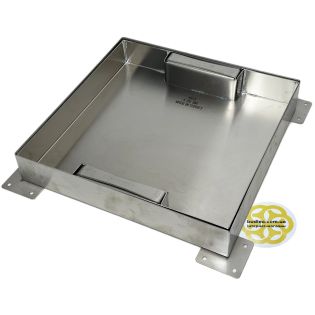
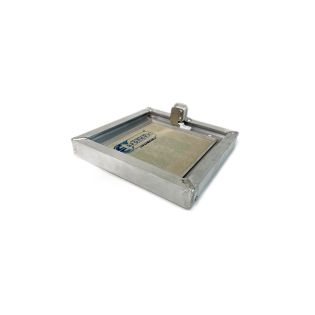
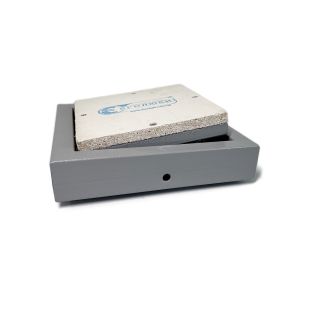 Inspection wall hatch EURO ECO 200x200 mm, steel, for tiles
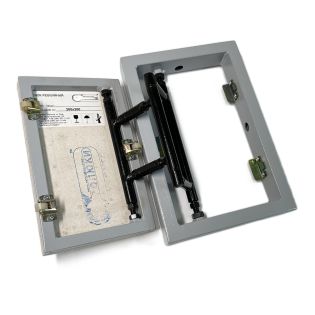
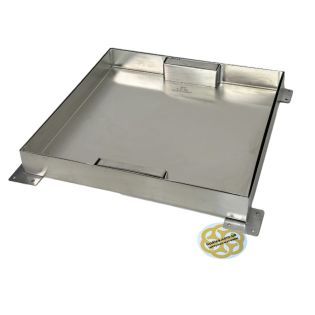
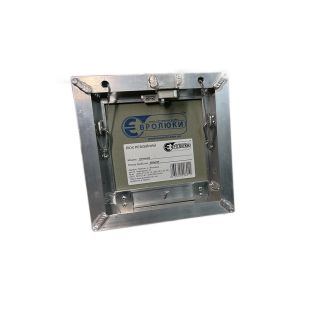
 Inspection wall hatch EURO-N 200x300 mm, steel, push, for tiles
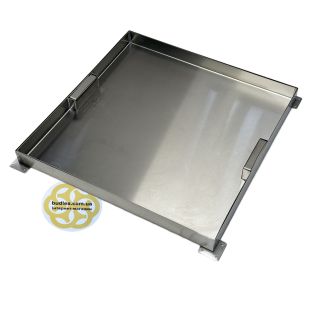
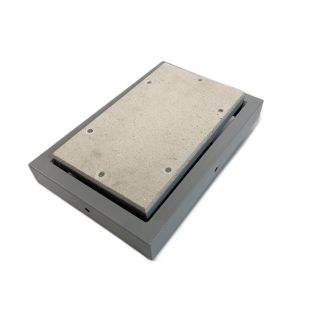
 Inspection floor hatch LIGHT 200x200 mm, aluminium, for flooring
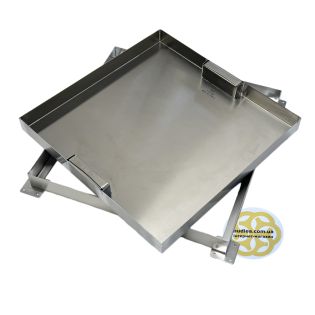
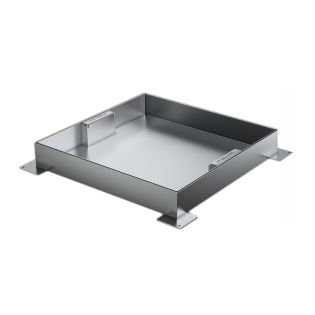
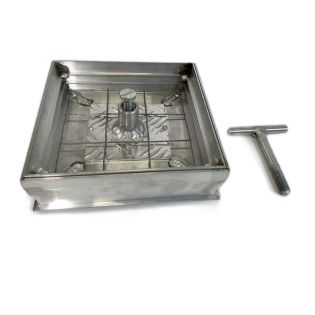
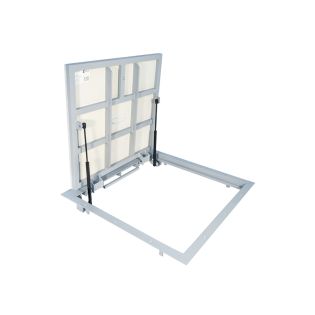 Inspection floor hatch POWER 600x600 mm, steel, with air springs, for tiles, laminate