Wall hung toilet installation: step by step
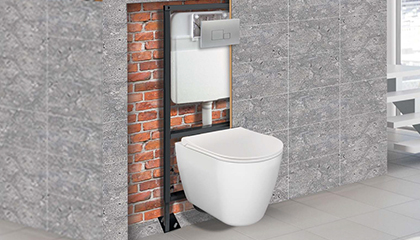
The suspended toilet is the epitome of modernity and minimalism, unlike the traditional floor version. Its stylish design is complemented by the convenience of care: the tank is hidden in the wall, and the free floor is easy to clean. If you are planning to install a suspended toilet yourself, it is important to learn how to work with the installation.
 In cooperation with our plumbing experts, we present you the correct and detailed installation instructions for the installation.
Detailed instructions for installing a suspended toilet installation with your own hands:
1. Introduction to the installation:
Before you start, familiarize yourself with the installation device in general terms.
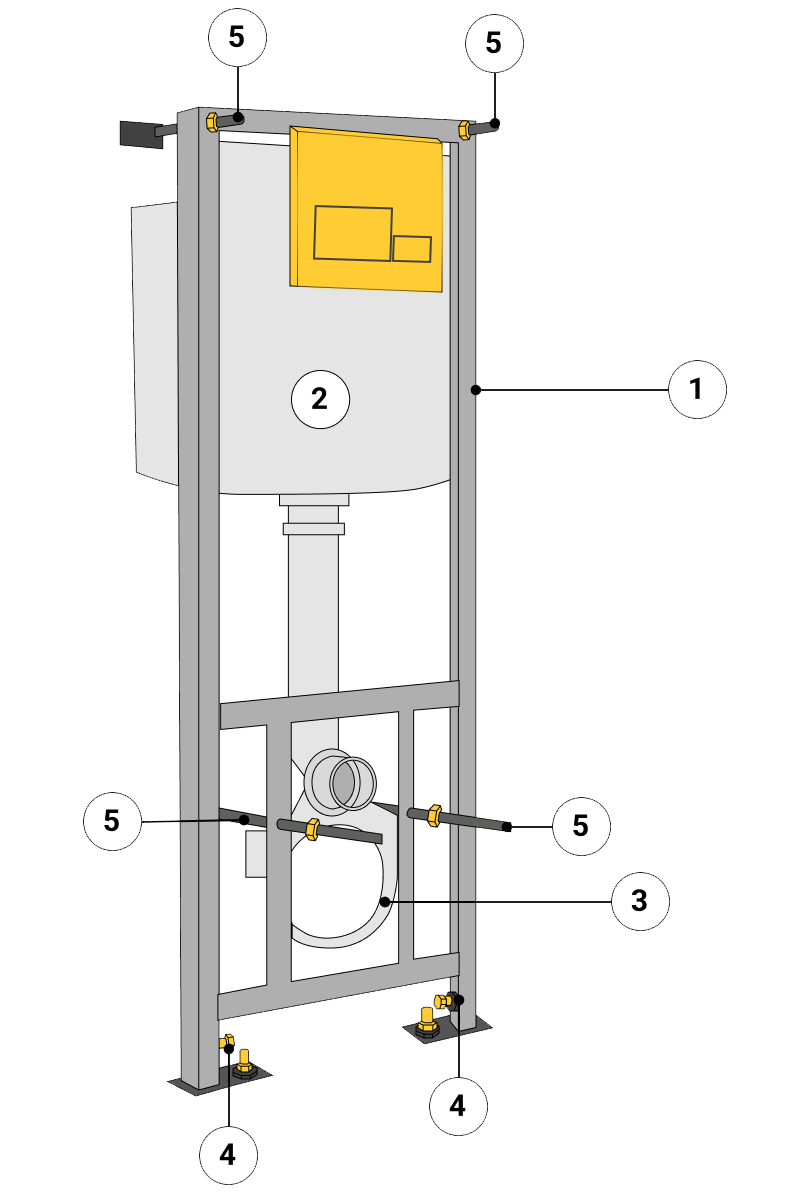
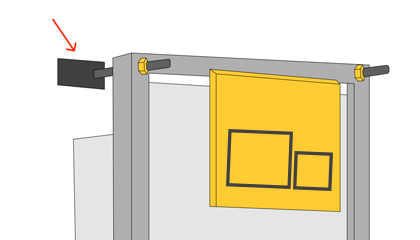
The picture shows a typical installation:
![]() A steel frame that takes the weight of the toilet, and is bolted to the floor in the lower part, and from above, through length-adjustable studs, to the capital wall behind the installation.
A steel frame that takes the weight of the toilet, and is bolted to the floor in the lower part, and from above, through length-adjustable studs, to the capital wall behind the installation.
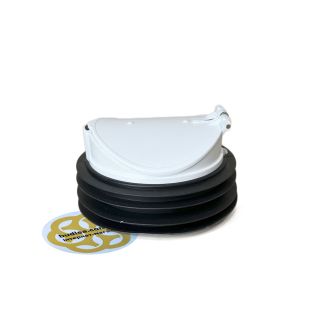
![]() A plastic water tank that is attached to the frame. If necessary, to get to the drain mechanism, it will be enough to remove the panel with the flush buttons.
A plastic water tank that is attached to the frame. If necessary, to get to the drain mechanism, it will be enough to remove the panel with the flush buttons.
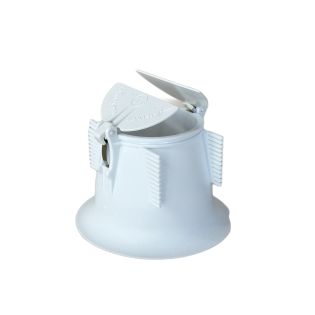
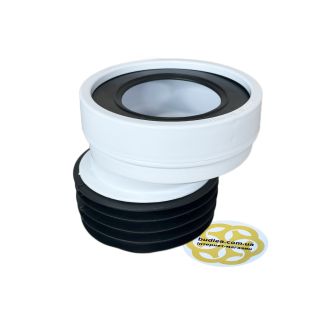
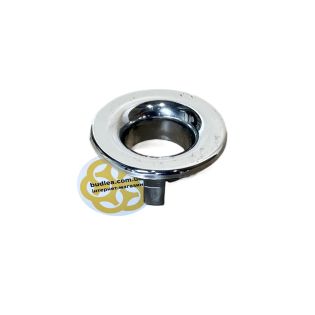
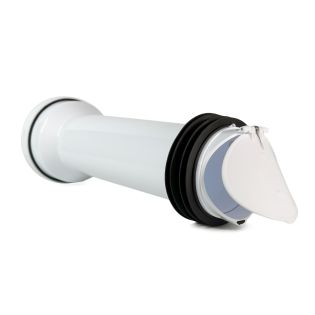
![]() The plastic clamp is designed to support the outlet when connecting the installation to the sewer.
The plastic clamp is designed to support the outlet when connecting the installation to the sewer.
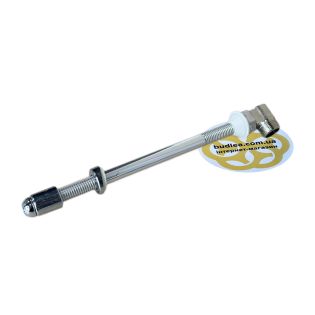
![]() The legs of the frame are adjustable in height during installation. Both the wall and the floor must be strong enough so that the anchors are not torn out of them by loads.
The legs of the frame are adjustable in height during installation. Both the wall and the floor must be strong enough so that the anchors are not torn out of them by loads.
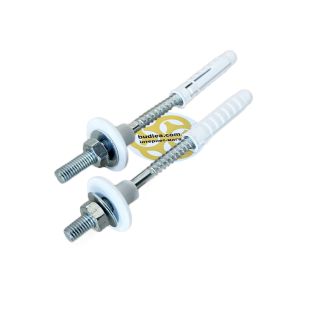
![]() Studs for fixing the toilet bowl so that the toilet seat is at the right height.
Studs for fixing the toilet bowl so that the toilet seat is at the right height.
2. Frame mounting:
The lower part of the steel frame (1) is bolted to the floor, and the upper part through adjustable studs to the wall.
The toilet bowl is also hung on studs (5).
The adjustable legs of the frame (4) allow you to set the desired height of the toilet from the floor.
Be sure to check that the wall and floor are strong enough for a reliable installation.
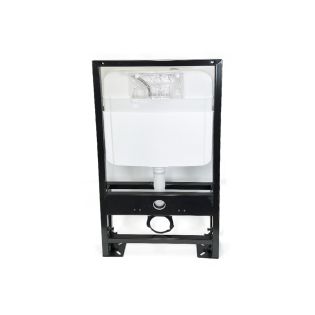
3. Tank and outlet:
Attach the plastic water tank (2) to the frame.
A plastic clamp (3) on the frame holds the branch connecting the installation to the sewer.
4. Correction of sewer risers:
Conventional sewer risers are not always suitable for suspended toilets.
To connect such a toilet, additional adapters will be required due to the excellent height of the risers.
Prepare in advance by providing additional connecting elements and spare time.
 5. Selection and purchase of equipment:
Choose a kit with installation, flush button and panel for optimal convenience.
There is also an option to choose a set with a keypad and an installation, or only an installation.
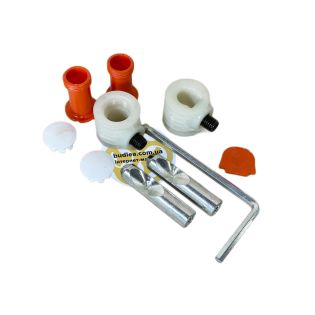
6. Preparation for installation:
Unpack the kit and make sure that all the parts are available.
Do not lose sight of the drawing, it will become useful in the course of work.
7. Preparation of materials:
Purchase the necessary materials: flexible liner for the tank, sewer pipes with a diameter of 110 mm, profiles PN 27 × 28 mm and PP 27 × 60 for the drywall frame, moisture-resistant drywall, tiles, glue and grout for cladding, sanitary sealant, fasteners and tools.
8. Get to work:
Prepare all tools and materials for use.
 Step 1. Set the installation height of the installation. To do this, loosen the two screws at the bottom of the installation, pull out the legs and fix them so that the toilet pins are at a height of 320 mm from the floor. This parameter is specified in the drawing included in the installation kit and provides the standard height of the toilet bowl. However, perhaps you would prefer to install the toilet at a different height, more convenient for you.
Step 2. Insert the studs into the holes of the corners of the installation frame that will secure it to the load-bearing wall, and then attach the support plates to the studs by placing them on the side of the wall. If the supplied studs are too short and do not reach the wall, replace them with longer ones. Don't forget to use washers and lock nuts.
Step 3. Make two pieces of the PN profile with a size of 27 × 28 mm, equal to the height of the installation frame. Attach them to the front side of the frame using metal screws. There is no need to make holes for self-tapping screws. Then attach the drywall to these profiles.
Step 4. Connect the sewer outlet included in the accessory kit to the installation.
 Step 5. Place the assembled frame in the right place and align it relative to the walls. Use the level to adjust the length of the pins fixing the frame to the wall so that their support pads are adjacent to the wall and the frame stands vertically. But do not attach the frame to the wall yet.
Step 6. Mark the positions on the wall and floor for drilling holes for the frame fasteners. Slide the frame to the side and drill holes of the desired diameter using a hammer drill. Insert the dowels into the holes, then return the installation to its place and secure it.
Step 7. Connect the drain pipe to the sewer. If necessary (note that often in apartments the height of the drain does not correspond to the installation), use prepared taps and adapters. To avoid unpleasant odors from the sewer in the room, temporarily close the sewer hole with a plug, also plug the pipe from the tank. Then wrap the studs for fixing the toilet bowl.
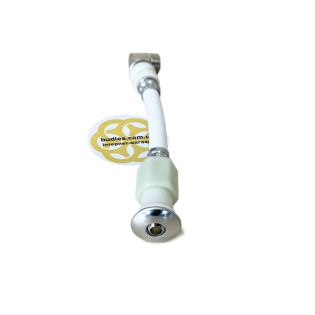
Step 8. Using a flexible eyeliner, connect the tank to the water supply.
Step 9. Carefully align the frame again so that it stands strictly vertically. Now attach it to the wall and tighten all the fasteners.
Step 10. Install a metal profile that serves as the basis for drywall. First, fix the PN guide profiles on the walls so that they match the guides on the installation. Then insert the transverse PP profiles at an interval of no more than 60 cm.
 Step 11. Sheathe the frame with drywall, securing it with screws at an interval of no more than 30 cm. The joints of the drywall sheets should be on the frame. Cut out the holes for pipes and buttons according to the template indicated on the installation package or drawing. As a result, protruding studs for fixing the toilet bowl, as well as pipe plugs and buttons will remain on the surface of the drywall.
Step 12. Cover the drywall with tiles, allowing the glue to dry for at least 24 hours, then seal the inter-tile seams. Now everything is ready to install the toilet bowl.
Step 13.Connect the toilet bowl to the installation with two pipes: the smaller pipe supplies water from the tank, and the larger one is designed to drain into the sewer. If necessary, shorten the pipes and remove the plugs from the installation.
Step 14. Install the toilet on the studs (shown by the arrows in the diagram), then put on the plastic gaskets and fix the nuts. To facilitate the connection of rubber pipe seals, it can be lubricated with soap or a special silicone lubricant. After making sure that the toilet is installed evenly and vertically, tighten the nuts evenly. Install the lid on the toilet.
Step 15. Open the water supply to the tank.
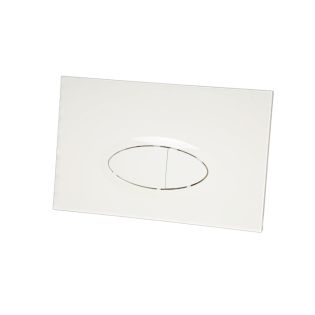
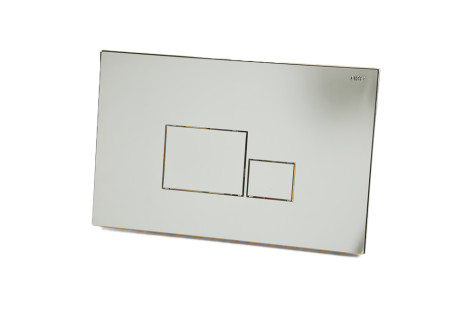
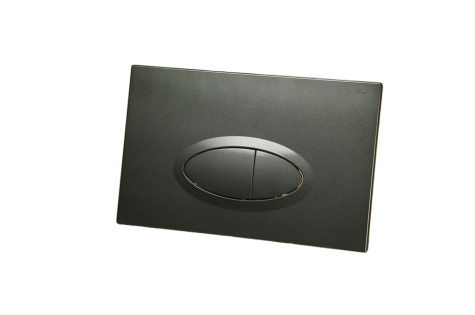
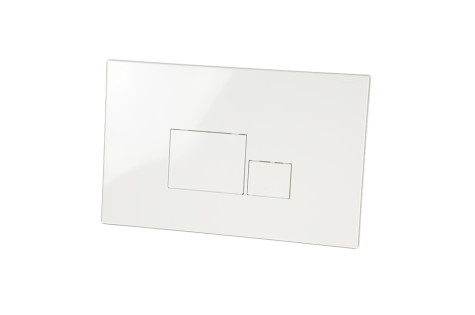
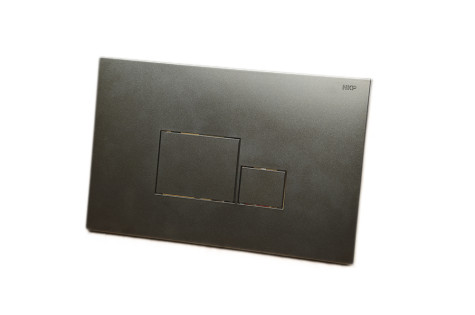
Step 16. Install the panel with drain buttons. Depending on the design of the panel, it is connected to the drain mechanism in different ways. Your toilet is ready to use.
Following the analogy with laying tiles, installation of the installation can take up to three days. At this time, the use of the toilet will be limited. Now you are equipped with detailed instructions for the correct and reliable installation of a suspended toilet.
Additional products


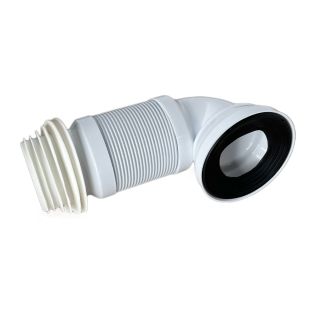
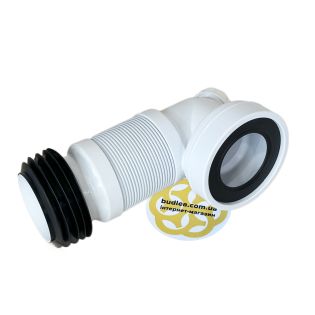
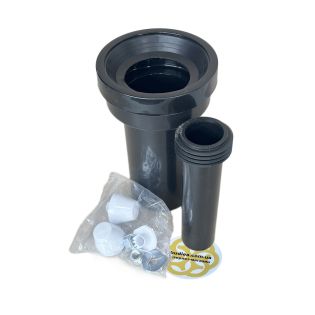
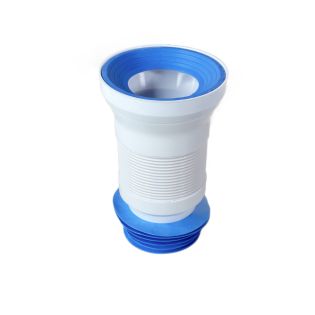
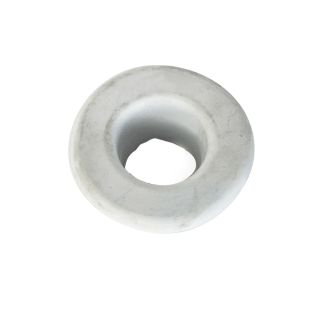
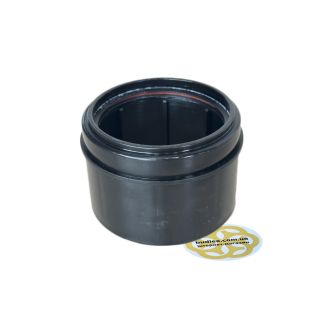
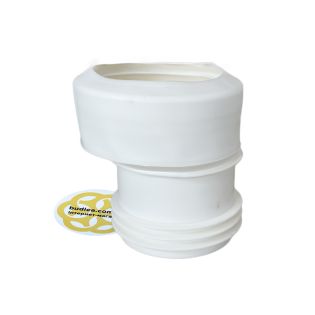 Eccentric for toilet 20 mm EVA outlet Ø100/110 mm


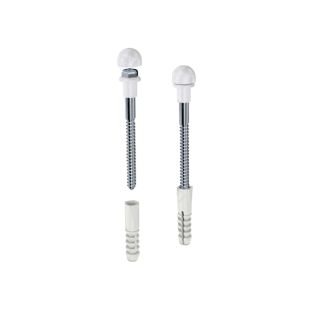
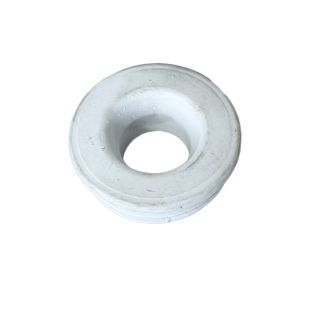
 Mounting kit for wall-hung toilet T1


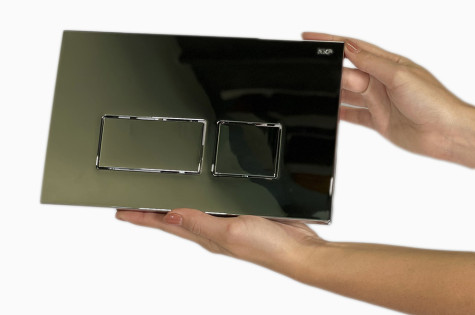 Flush button for installation 3/6L, rectangular, chrome
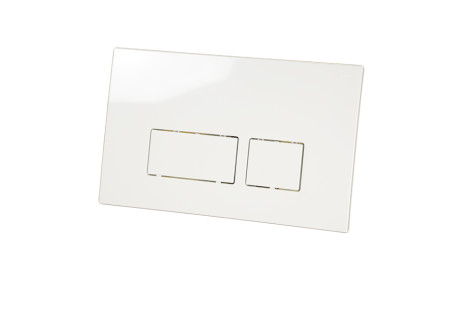 Flush button for installation 3/6L, rectangular, white
 Flush button for installation 3/6L, oval, satin chrome