How to make waterproofing in the bathroom
As you know, the place with the highest percentage of moisture in the house is the bathroom, so the lack of waterproofing causes the following negative consequences:
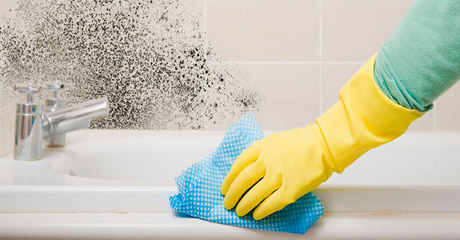 Formation of mold and mildew
- Peeling tiles
- Changing the color of the seams
- Acceleration of the destruction of the structure of the room
- Risks of lung disease when breathing in a room
- Unplanned tile re-laying costs
- Moisture penetration into the adjacent room
So, let's take a closer look at how to prevent moisture from occurring in the bathroom and consider each stage of waterproofing application.
The waterproofing technology of the bathroom includes a complete finish of the floor and walls. The correct solution would be to waterproofing the entire area of the bathroom. If there are several bathrooms and sinks in the room at a great distance from each other, then it is possible to perform waterproofing only in places where a large amount of moisture accumulates, as described in the figure below.

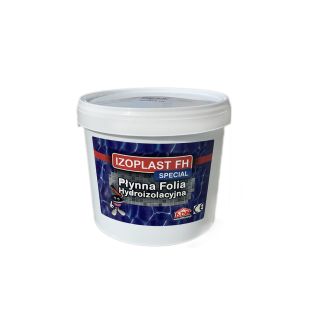
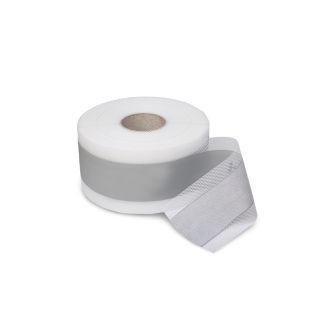
For waterproofing, we will use water–based acrylic mastic - Izoplast FH Special and an elastic tape for waterproofing Teknomer PVC Champer Tapes 120/70.
- Zone No. 1 - floor
The floor is always in contact with water, so this area must be completely treated with waterproofing with a minimum projection on the ceiling of 20-30 cm.
- Zone No. 2 - bathroom
In this area there are pipe fasteners to the mixer, which must be carefully waterproofing, as well as constant splashes of water fall on the tile surface. This area needs to be waterproofing 50 cm higher up and to the sides of the bathroom.
- Zone No. 3 - sink
There is a sink and a pipe attachment to the mixer. This area should also be waterproofing 50 cm up and away from the sink.
Stages of work execution
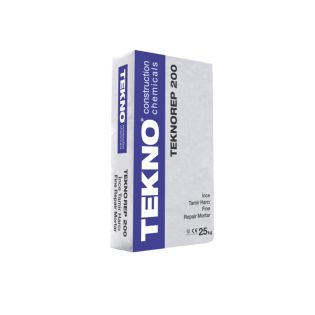
- The first stage is the preparation of the concrete surface for waterproofing. It is necessary to clean the surface from dirt, dust, silicone, chemicals, lubricants. If there are cracks on the surface, they need to be repaired using TEKNOREP 200 repair mix.
- The second stage is the application of the first layer of waterproofing in zone No.2,3, starting from the upper far corner against the entrance to the room using Izoplast FH Special and laying Teknomer PVC Champer Tapes 120/70 waterproofing tape on the seams at the joints floor–wall and wall-wall.
- The third stage is after the first layer of waterproofing has solidified, we apply a second layer, and also thoroughly coat the waterproofing tape. After that, we repeat these actions in zone No. 1. We apply waterproofing to the floor with a minimum projection on the wall of 20-30 cm– It should be remembered that the waterproofing tape should be placed along the entire perimeter of the bathroom between two layers of waterproofing. The tape creates an elastic seam, which does not form cracks at the joints of the walls.
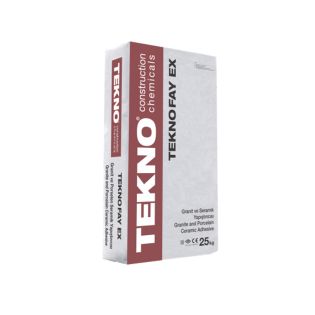
- The fourth stage is the laying of tiles. In this case, a good solution would be Teknofay EX C2TE tile adhesive, it has increased adhesion strength to tiles and is ideal for places with high moisture.