Waterproofing the bathroom and shower room
Do you want to make a high-quality repair in the bathroom, but you don't know, how to carry out the work and what materials should I choose? Then this article is for you!
Below I will tell you in detail the correct solution for waterproofing the bathroom with step-by-step instructions that will help you easily perform repairs with your own hands.
The bathroom, like the shower room, differs from the rest of the rooms in the house by an increased level of humidity, which means that it requires particularly careful protection from the influence of moisture and water. After all, vapor molecules are able to penetrate deeply even through the decorative coating of the surface of the structure into concrete, gradually destroying it and deteriorating strength characteristics. Also, in places where the pipe system is laid, there is always a risk of sudden leakage, which threatens to flood not only your bathroom, but also the apartment of the neighbors from below (in a multi-storey building). That is why waterproofing the bathroom is a prerequisite not only to ensure comfort and protect the concrete surface from condensation, mold and mildew, but also as insurance against possible financial losses due to flooding of your neighbors. Next, I propose to consider in more detail the correct waterproofing solutions.
 |
Please note that the technology of applying waterproofing under the tiles for the bathroom and shower will differ in area "wet" and "wet" zones. |
Let's take a closer look at the technology of applying waterproofing materials for the bathroom and shower.
Waterproofing of the bathroom includes the treatment of the entire floor area and walls - in places with high humidity levels. In the presence of a shower cabin, a waterproofing layer is applied to the entire "wet" area. All wall-to-floor joints are additionally sealed with sealing tape.
Thus, waterproofing must be applied to: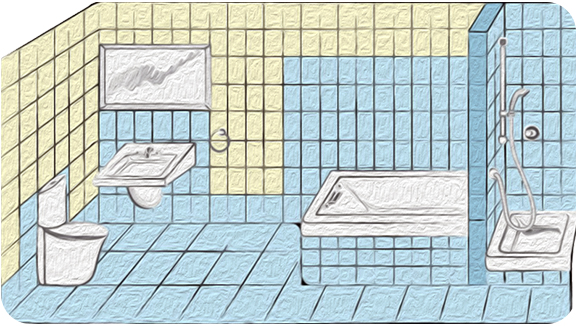
 |
 |
 |
|
the entire floor surface |
sections of walls around plumbing, shower area |
vertical and horizontal seams "floor-wall" |
 |
 |
 |
At the very first stage of work, it is necessary to determine which materials are better to purchase for the arrangement of high-quality waterproofing of a bathroom or shower room.
Therefore, the first step is to buy materials for waterproofing the bathroom. To create a high-quality and reliable waterproofing of the bathroom, our experts recommend such complex solutions and materials:
|
acrylic primer |
elastic polymer-cement waterproofing membrane |
||
|
|
|
|
 |
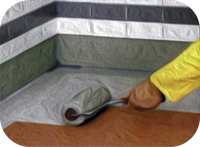
The most effective way to protect the bathroom and shower room is a coating waterproofing. By creating a seamless, durable and elastic coating, waterproofing completely protects the surface from water penetration, in addition, it is easy to perform such waterproofing for the bathroom with your own hands, since it is easiest to work with coating materials.
Before proceeding directly to waterproofing work, it is worth carrying out preparatory work. So, second – all cracks, irregularities, sinks, surface defects and other damaged areas on the entire concrete surface in the bathroom should be repaired using Teknorep repair compounds.
| Material | Advantages | Application features | |
 |
|
|
|
At the end of the preparatory work, the surface should be solid, clean and smooth, with open pores without cracks, protrusions and cavities.
Now that the material has been selected and all the necessary preparatory work has been done, we proceed to step three - applying the selected materials and their main advantages:
|
|
Material |
Advantages |
Application technology |
|
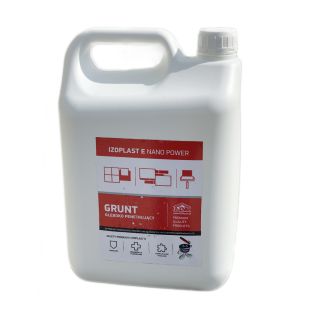
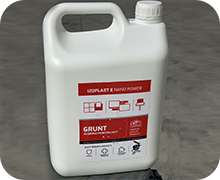
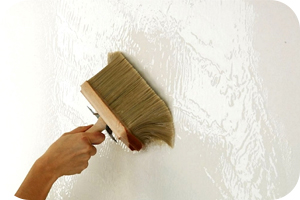
The first step is to prime a clean and prepared surface to ensure high adhesion of the applied waterproofing layers to the surface. To do this, we use an acrylic primer of deep penetration. |
|||
|
|
deep penetration primer Izoplast E Nano Power |
|
The primer is applied to a clean surface with a brush or roller in 1 or 2 layers. After an hour, a waterproofing membrane can be applied. |
|
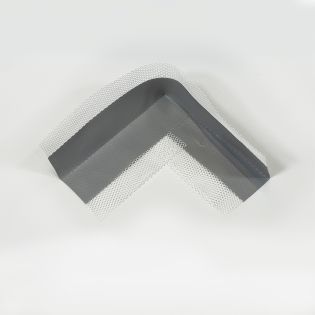
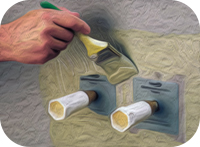
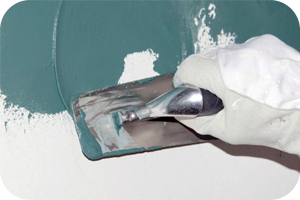
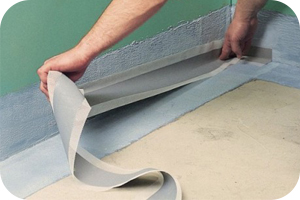
After priming the surface of the walls and floor in the bathroom, in the corners and joints, it is necessary to coat with waterproofing the area corresponding to the width of the tape. Then the tape is glued to the treated area and covered with a layer of waterproofing. In the places where the pipes exit, special sealing cuffs are used for sealing, which are also sealed with a membrane. |
|||
|
|
|
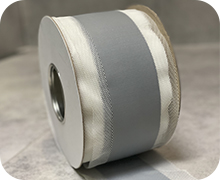
First, you should measure the exact dimensions of the sealing tape, taking into account 40 mm at the joints (overlap). Then make the installation, starting from the corners of the bathroom. For such purposes, you can use ready-made Izolex corners. It is necessary to ensure that the tape lies flat – at the same level. Then the edges of the tapes and corners are covered with a layer of waterproofing. There is no need to apply a waterproofing layer to the middle of the tape (covered with elastomer). It is strictly forbidden to use sharp tools in work that can damage the integrity of the tape. |
|
|
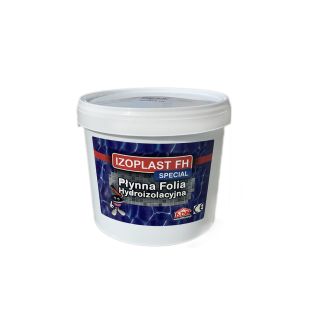
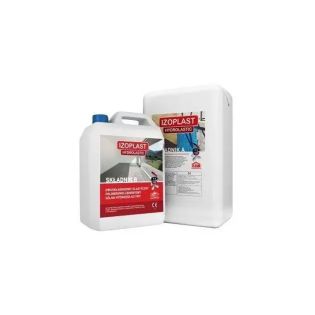
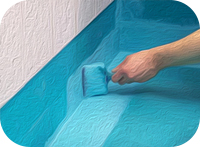
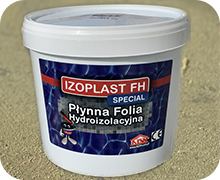
After sealing the joints and corners in the bathroom with sealing tape, an elastic waterproofing membrane should be applied. It can be a liquid one-component acrylic membrane based on water polymers (Izoplast FH Special) or a two-component elastic polymer-cement waterproofing coating (Izoplast Hydrolastic). If the installation of underfloor heating will be carried out in the bathroom, then the screed must be done on top of the waterproofing layer. |
|||
 |
waterproofing membrane Izoplast FH Special |
|
On a dried primed concrete surface, apply a membrane in 2 layers using a brush or a spatula. The second layer should be applied perpendicular to the first. A special sealing tape is placed in the corners. After the waterproofing is completely dry, ceramic tiles can be glued. |
|
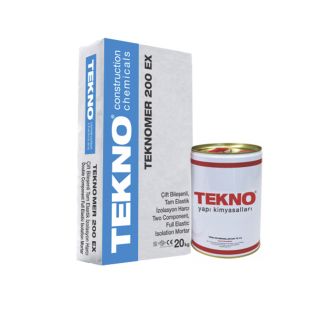
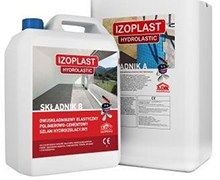
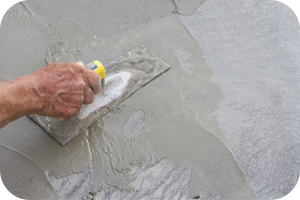
The waterproofing composition of Izoplast Hydrolastic consists of 2 components: a dry dispersed mixture and a polymer emulsion. After application to the surface, a durable seamless elastic coating is formed, which is able to cover microcracks. After complete drying, ceramic tiles can be glued to the waterproofing layer. |
|||
|
|
waterproofing compounds Izoplast Hydrolastic and Teknomer 200 EX |
|
Prepare the working solution according to the instructions. Apply the mass with rubbing movements using a rubber spatula or a stiff brush in 2-3 layers. A sealing tape should be placed in the freshly laid first layer in the corners and joints of the wall-floor. Leave the applied coating until completely dry (5 hours for each layer), after which the tile should be glued to an adhesive with increased elasticity. |

As you can see, the work on waterproofing, using professional quality materials, can be done independently, without involving specialists. This will allow you to save not only money, but also gain confidence that all the work done has been done well and reliably.
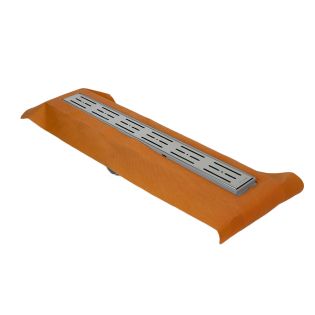
So, after carrying out the entire complex of necessary waterproofing works, the walls and floor in the bathroom are lined with ceramic tiles, which are laid on a special adhesive with an increased elasticity index directly on the equipped waterproofing layer. It should also be said that when arranging a shower room, an integral element is a shower tray.
The installation of a shower tray will allow you to equip a modern shower room without a pallet, as well as perform the work yourself, without resorting to the services of third-party organizations.
If you have any questions after reviewing our materials, please contact us, we will be happy to help you.
Many years of experience and a high level of qualification of our specialists is the key to a high-quality and reliable repair of your home.